If you’re looking to add a twist to your marketing emails, why not connect your domain to HubSpot and give them permission to send them on your behalf? With DKIM (Domain Keys Identified Mail) email authentication, HubSpot can handle those messages with a flair!
Linking an email domain brings about these advantages:
- Emails for your marketing initiatives can now avoid being marked as spam.
- The sender information will no longer appear when viewed via HubSpot.
So, before getting started!
First, there are a few things you need to take care of!
- To link your domain, make sure you have access to your DNS provider’s login information as well as the CNAME records – and then update your DNS records.
- Apart from that, depending on your subscriptions, you can link multiple email-sending domains. And, accessing each of these domains will require ownership.
- After connecting your email-sending domain, if you’ve configured it using Cloudflare and you have a DMARC policy in place, ensure that domain-wide CNAME flattening and proxy settings are disabled, then you can add HubSpot to your SPF record.
- Connecting a subdomain such as “info.domain.com” as your email-sending domain is allowed. To ensure the successful sending of your marketing emails in HubSpot, the domain used in the From address should match the subdomain you have connected.
Connect email-sending domains
Let’s connect an email-sending domain; just follow these few simple steps mentioned below,
- First, go to your HubSpot account, and reach out to your settings icon around the main navigation bar.
- Now, find the Website > Domains & URLs; you might see them in the left sidebar menu.
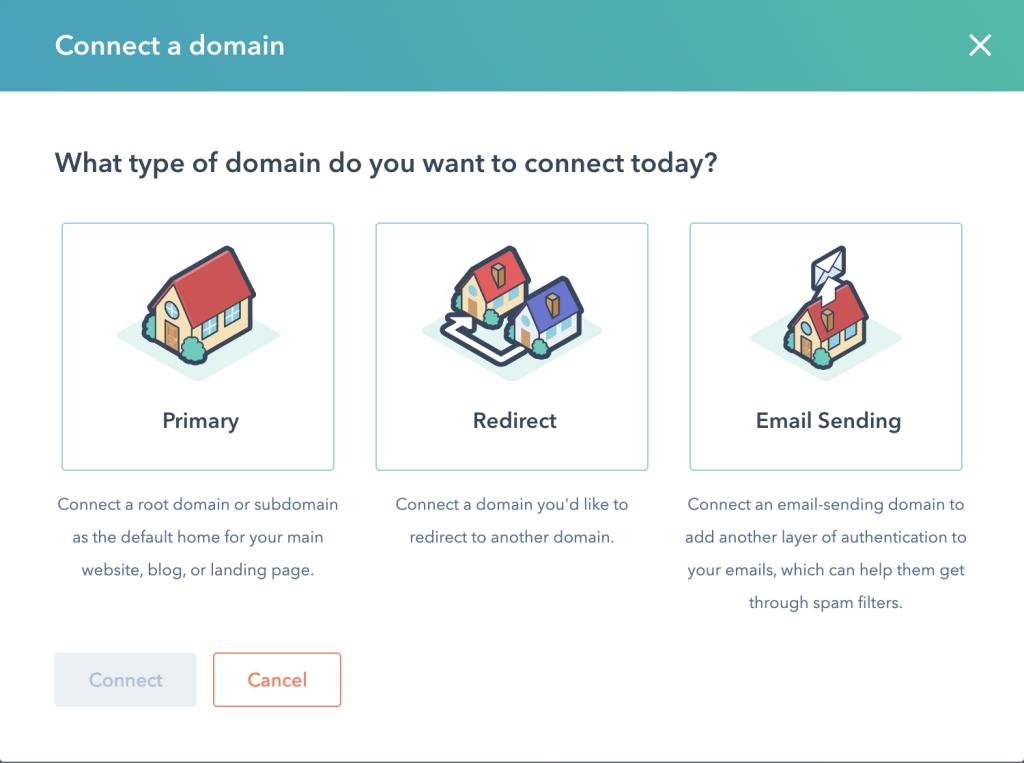
- Then, tap on “Connect a domain“.
- And, now within the dialogue box, you have to click on Email Sending> Connect.

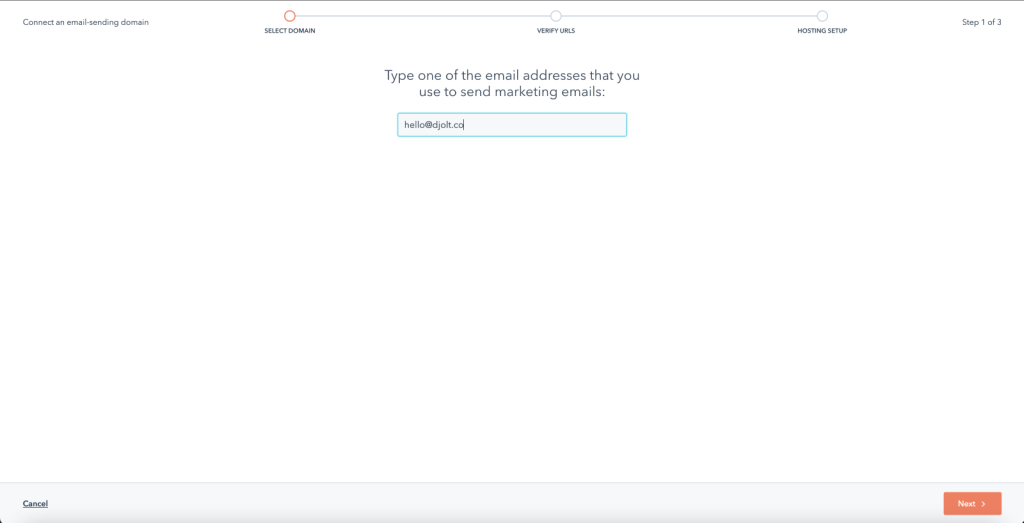
- Enter an email address used for sending marketing emails on the domain connection screen, then click Next.

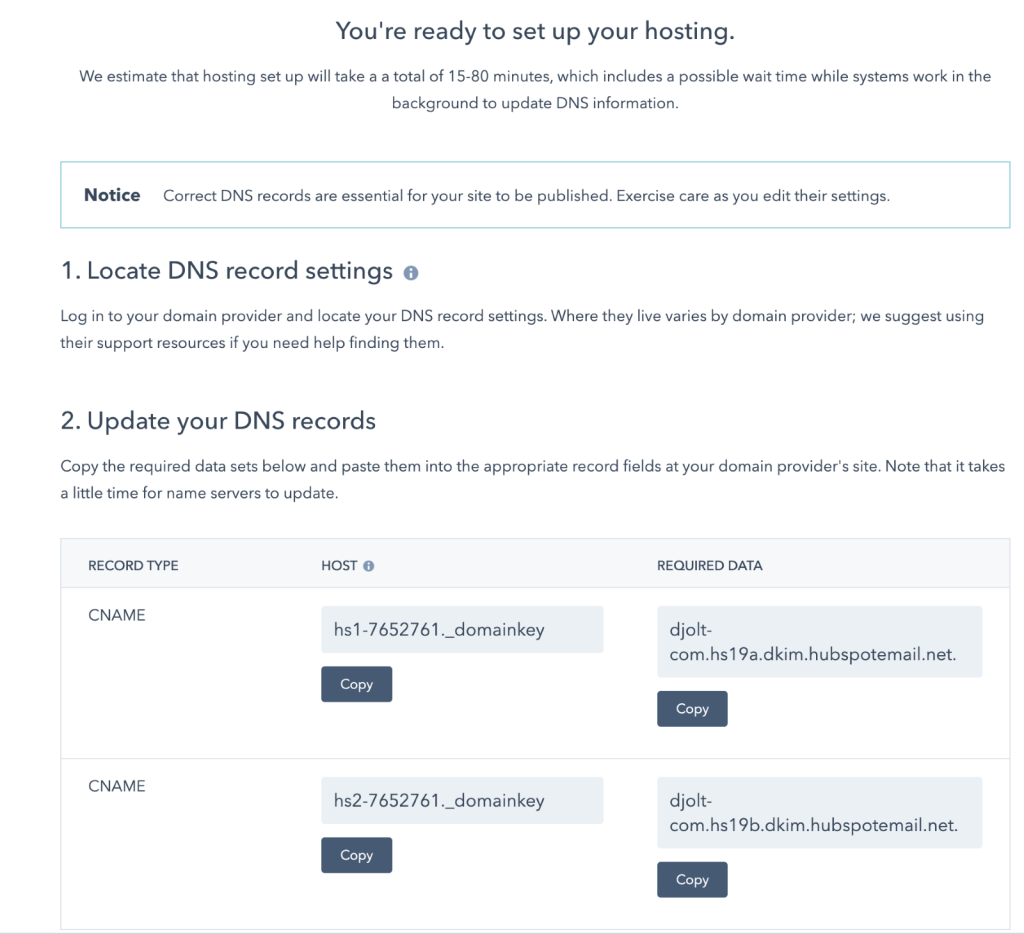
- Make sure the email domain is correct, then click Next. Then, in another tab, log in to your DNS provider and find the DNS record settings.
- Copy the entries in the Host and Required Data columns of HubSpot. Paste them onto the respective record fields of the CNAME record of the desired subdomain in your DNS provider account. Once done, click Verify!

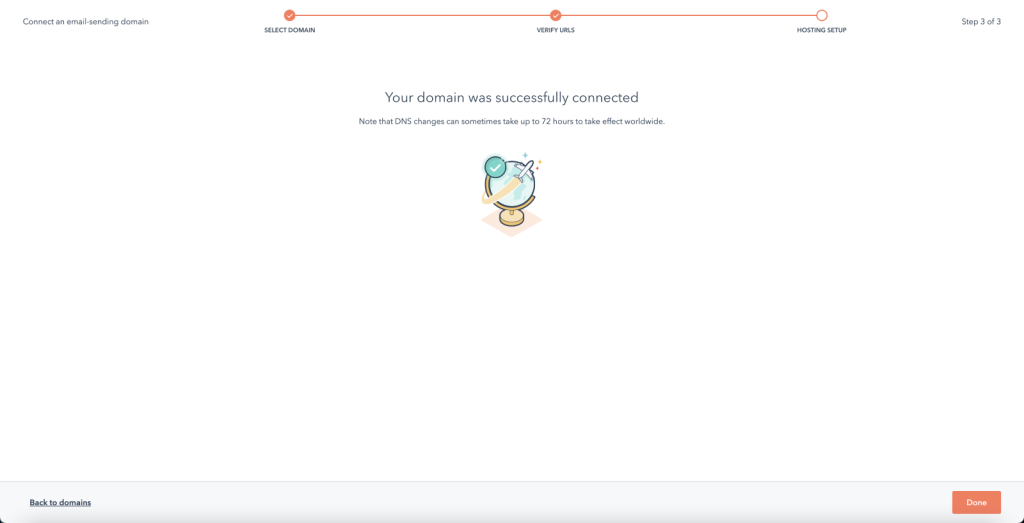
- Once you’ve updated your DNS records, the verification process will take between 15 and 80 minutes. You can track its progress at the bottom of the page. Navigating away from this page won’t affect the validation.

- If you encounter any issues verifying your DNS changes, hover over the warning alert icon in the Current data column for more information on the error.
Pro Tip: Certain providers, such as Network Solutions and GoDaddy, will automatically append the [brand domain] and [top-level domain] to the end of ‘DNS records’. If, for instance, you enter {hsdomainkey}.yourdomain.com, this will be changed to {hsdomainkey}.yourdomain.com.yourdomain.com which would then result in an error. To avoid this, simply copy the value but without the .yourdomain.com extension, then paste it into the relevant field within your DNS provider account.


